目次 [ Contents ]
You maybe use a display when you want to check the values without Serial Monitor. And perhaps it could be LCD. But you can have a another option. That is OLED
which you can get in places like Amazon. Quality is good enough, and price as well. One thing of the matter is it has difficulty because it is graphic type display.
But you can use OLED graphic display by using ‘u8glib library’. I was confused at first, because this library has some habits.
So I want to mention to the tips by this articles, as far as possible. At first, I apology to you if I had made wrong knowledge. Sorry.
u8glib
“u8glib” is Arduino versatile library for graphic display. Nowaday, You can get “u8glib” from Arduino IDE. Also you can download from GitHub. Although there is new “version 2” on IDE installer. I use “version 1” in this article, because I have never use new one, sorry.
Display
OLED is meant “organic light-emitting diode”. It’s very high luminance and beautiful. So many electric parts shop sells it. Probably it’s easy to find reasonable one.
I got these at japanese Amazon market.
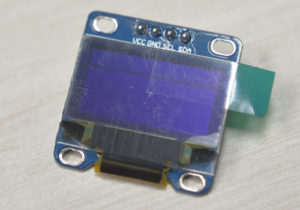
Also there is SPI display at different price.
EasyWordMall 3.3V-5V SPI white OLED display 128×64
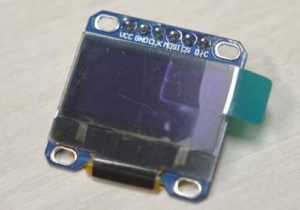
Try find it at yourself on web.
I2C and SPI are protocols used between devices. I recommend you SPI if you want faster refresh rate. Otherwise I2C is convenient for fewer pins.
There is video which I check the difference of transmit speed. Please check it.
SPI has advantage for general use to compatibles. Because I2C display didn’t work on SAMD21 or Teensy. Or “version 2” might solve this problem, I don’t know. Anyway, I can take operation guarantee on Arduino UNO and promini.
Watch sample sketches
Let’s watch samples to operation check, first.
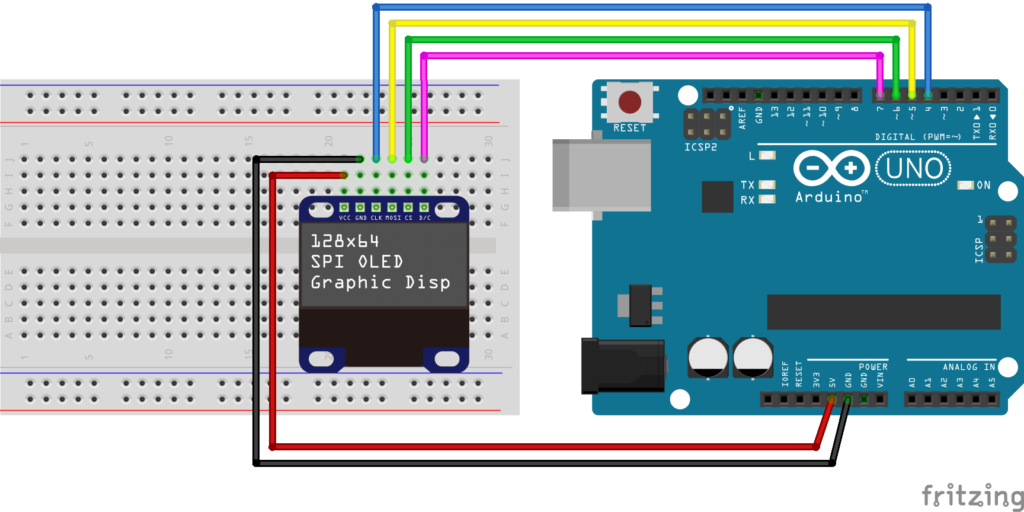
This is illustration for wiring. Please check allowable voltage of your display. This wiring is specified to 5 voltage work.
Connect SDA pin and SCL pin if you use I2C display instead.
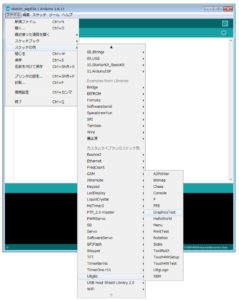
Then install “u8glib” library to your IDE if you haven’t it yet.
Open the sample sketch “GraphicTest”.
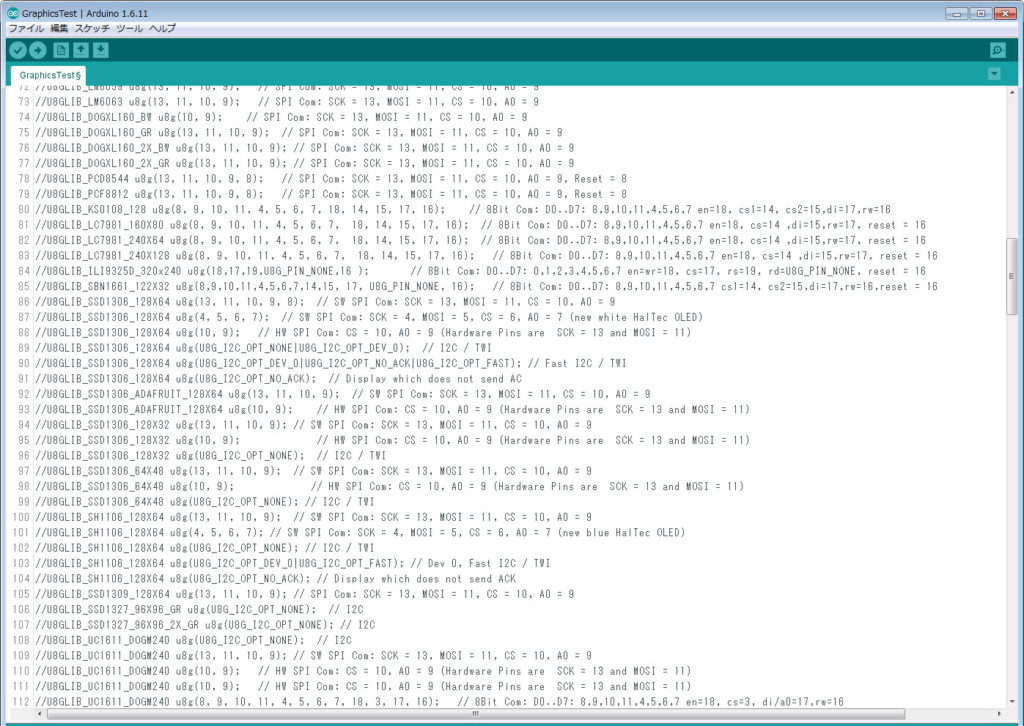
You need to change on the sketch. It does not work as it is.
Check codes at the beginning. There are lots of code for each setting. You have to remove ‘//’ mark. It depends on your display.
My SPI is, for example,
//U8GLIB_SSD1306_128X64 u8g(4, 5, 6, 7);
For I2C,
//U8GLIB_SSD1306_128X64 u8g(U8G_I2C_OPT_NONE|U8G_I2C_OPT_DEV_0);
or,
//U8GLIB_SSD1306_128X64 u8g(U8G_I2C_OPT_DEV_0|U8G_I2C_OPT_NO_ACK|U8G_I2C_OPT_FAST);
Then you can run the sketch. I couldn’t figure out this style and it took several time.
You know how to watch those sample sketches now. Try other samples.
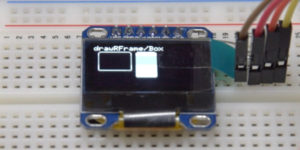
Next, I will mentioned to how to draw graphics.
Part2

Arduino Serial.print()の表示用モニターに使えますか?また、設定方法があれば教えてほしいです。
コメントありがとうございます。
u8g.setPrintPos(x座標, y座業);
u8g.print(値);
の組み合わせで、基本的にSerial.printと同じような勝手で表示できます。ただ、型によってはオーバーフローする場合があり、上手くいかないこともあるようです。
また、一度に表示できる量はスクリーンのサイズに依存するので、表示させたいものが多ければフォントや表示方法を工夫する必要が出てくると思います。
Part4の「文字の描画」を参考にどうぞ。
先日はありがとうございました。一応、表示させたい文字とボリウムの値を表示させることができました。
気になるのは、ボタンカウントの数値とモーターの速度のボリウムを表示させているのですが、毎回カウント数が変わる時と変わらずに固まったような状態の時とがあります。
プログラム自体は表示に関わらず動いています。
その他のフレームレートという記事を参考にしましたが変わらずでした。
何か注意することはあるでしょうか?
具体的にプログラムを見ないと何とも言えないんですが、ボタンを押した瞬間がちょうどu8g描画のWhileループ中で、digitalReadでの判定に間に合ってないのかな、と。
強引なやり方なんですが、カウントさせる一連の命令を、描画のdo~while内にも追加で書いてみたらどうでしょうか?
https://jumbleat.com/2016/09/03/how_to_use_u8glib_part2/
最後の方「u8glibの問題点」に書いているので、参考にしてみてください(順を追って書いているので、最初から読まないと分かりづらいかもしれません)。
グラフィックテストは動くのですが、何故かハローワールドのサンプルが動きません。何か理由は考えられませんか???
コメントありがとうございます。
自分も新しいやつを手に入れてSPI接続を試していますが、結構規格に関して認識が違っていた部分があったみたいで…。
そこら辺はまたまとめるつもりですが、https://jumbleat.com/2017/03/16/amazon_cheap_oled_2/
とりあえず、“Hallo World”のサンプルスケッチに関してはあれっ?と思う箇所があり、
U8GLIB_SSD1306_128X64 u8g(13, 11, 10, 9); // SW SPI Com: SCK = 13, MOSI = 11, CS = 10, A0 = 9
リセットに関する引数(8)の記載がありません。設定文を“GraphicTest”からコピペするか、
U8GLIB_SSD1306_128X64 u8g(13, 11, 10, 9, 8);
としてみるとどうでしょうか?